Introduction
I began work on a new standard size 8 sloper in June 2023. The goal was to achieve a sloper with a more shapely fit that the one I developed for making 1940s style clothing. The technique I used for the 1940s inspired sloper was based on Precision Draping by Nellie Weymouth Link. It resulted in a well fitting sloper that had a bodice adaptable to the shoulder pads and boxy cuts of the 1940s. The skirt has a slight swing in keeping with the slightly A-line shape of 1940s skirts.
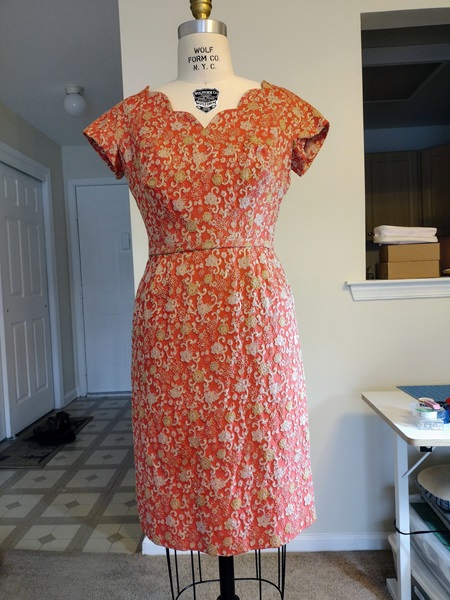
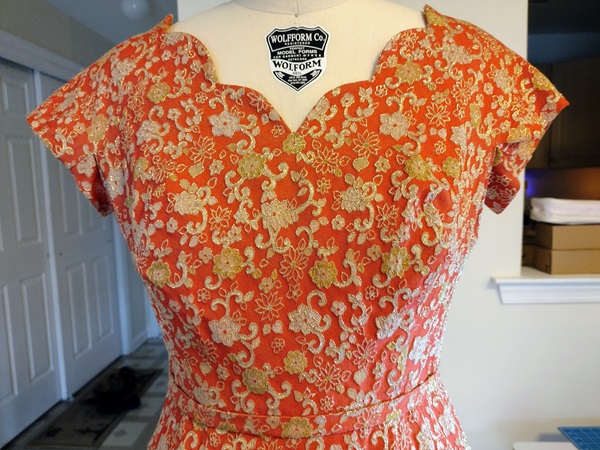
I used draping to create a highly structured bodice more suitable for 1950s styles along with a pencil/sheath style skirt. The only thing I did not like about the 1950s style bodice was that it was too, too structured for me. I created a bodice with a vertical dart above and below the bust. The fit was balanced but I did not care for how pointy and emphasized the apex was.
Some disadvantages to draping a style or a sloper
It can be tricky to add style ease to a design made using a sloper. In draping, too, adding a pinch here and a tuck there will change the fit of the garment once the toile is made and fitted on the person or form.
I have seen videos on YouTube where those demonstrating how to drape a sloper on a Misses 8 recommend that the finished garment be labelled a Misses size 6. I didn’t want to go in that direction so I decided to go back to the flat pattern making method I learned at the French Fashion Academy.
Draping still has many advantages. It is a wonderful learning process. Flat patternmaking offers many advantages, too.
Spending three months practicing draping made me very aware of the kind of silhouette I wanted the new size 8 patterns to have. There would be a basic pattern with fitting details but overall a softer effect. For this reason, I created a fitted bodice with only one vertical dart below the bust. The shoulder dart in the back bodice was eliminated. And the fitted sleeve was drafted and adjusted so that there is much less ease to work into the armhole. For the fitting shell, there is less than 7/8″
Fitting Shell vs. Sloper
A professional dressmakers form has some style ease added into it. A sloper for a Size 8 will result in fashions for that size 8 but it may not have ENOUGH style ease to accommodate a range of body types within that Size 8. This is why I decided to go back to the French Fashion Pattern Drafting System.
In the French Fashion system a Fitting Shell is created after taking body measurements. No ease is added. The flat pattern is drafted and the fitting shell tested. It has to fit the form or person like a second skin. When all is corrected, the fitting shell pattern is a blueprint of the form;s or person’s body.
When a pattern is created for a particular style, design ease is added to some of the body measurements. I have found that adding 3″ each to Chest, Bust, and Hips; 3″ to upper arm circumference; 1-2″ to wrist circumference; and 1-1 1/2 inches to waist circumference produces comfortable garments with a good fit. Other garments like coats and suit jackets may need more ease.
This means every style has to have the basic patterns drafted with the style ease added in. It is more work but the results are much more accurate for me. In 2024 I begin drafting and making designs using the patterns based on the measurements used to create the fitting shell.
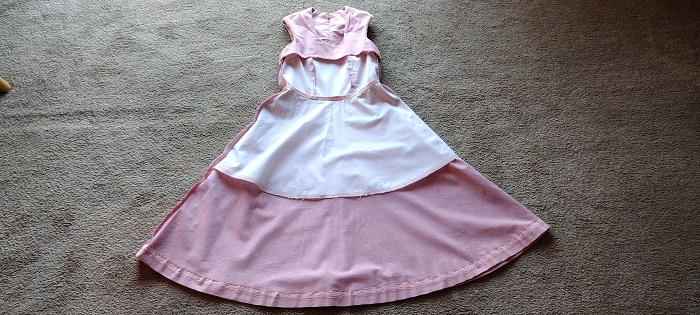
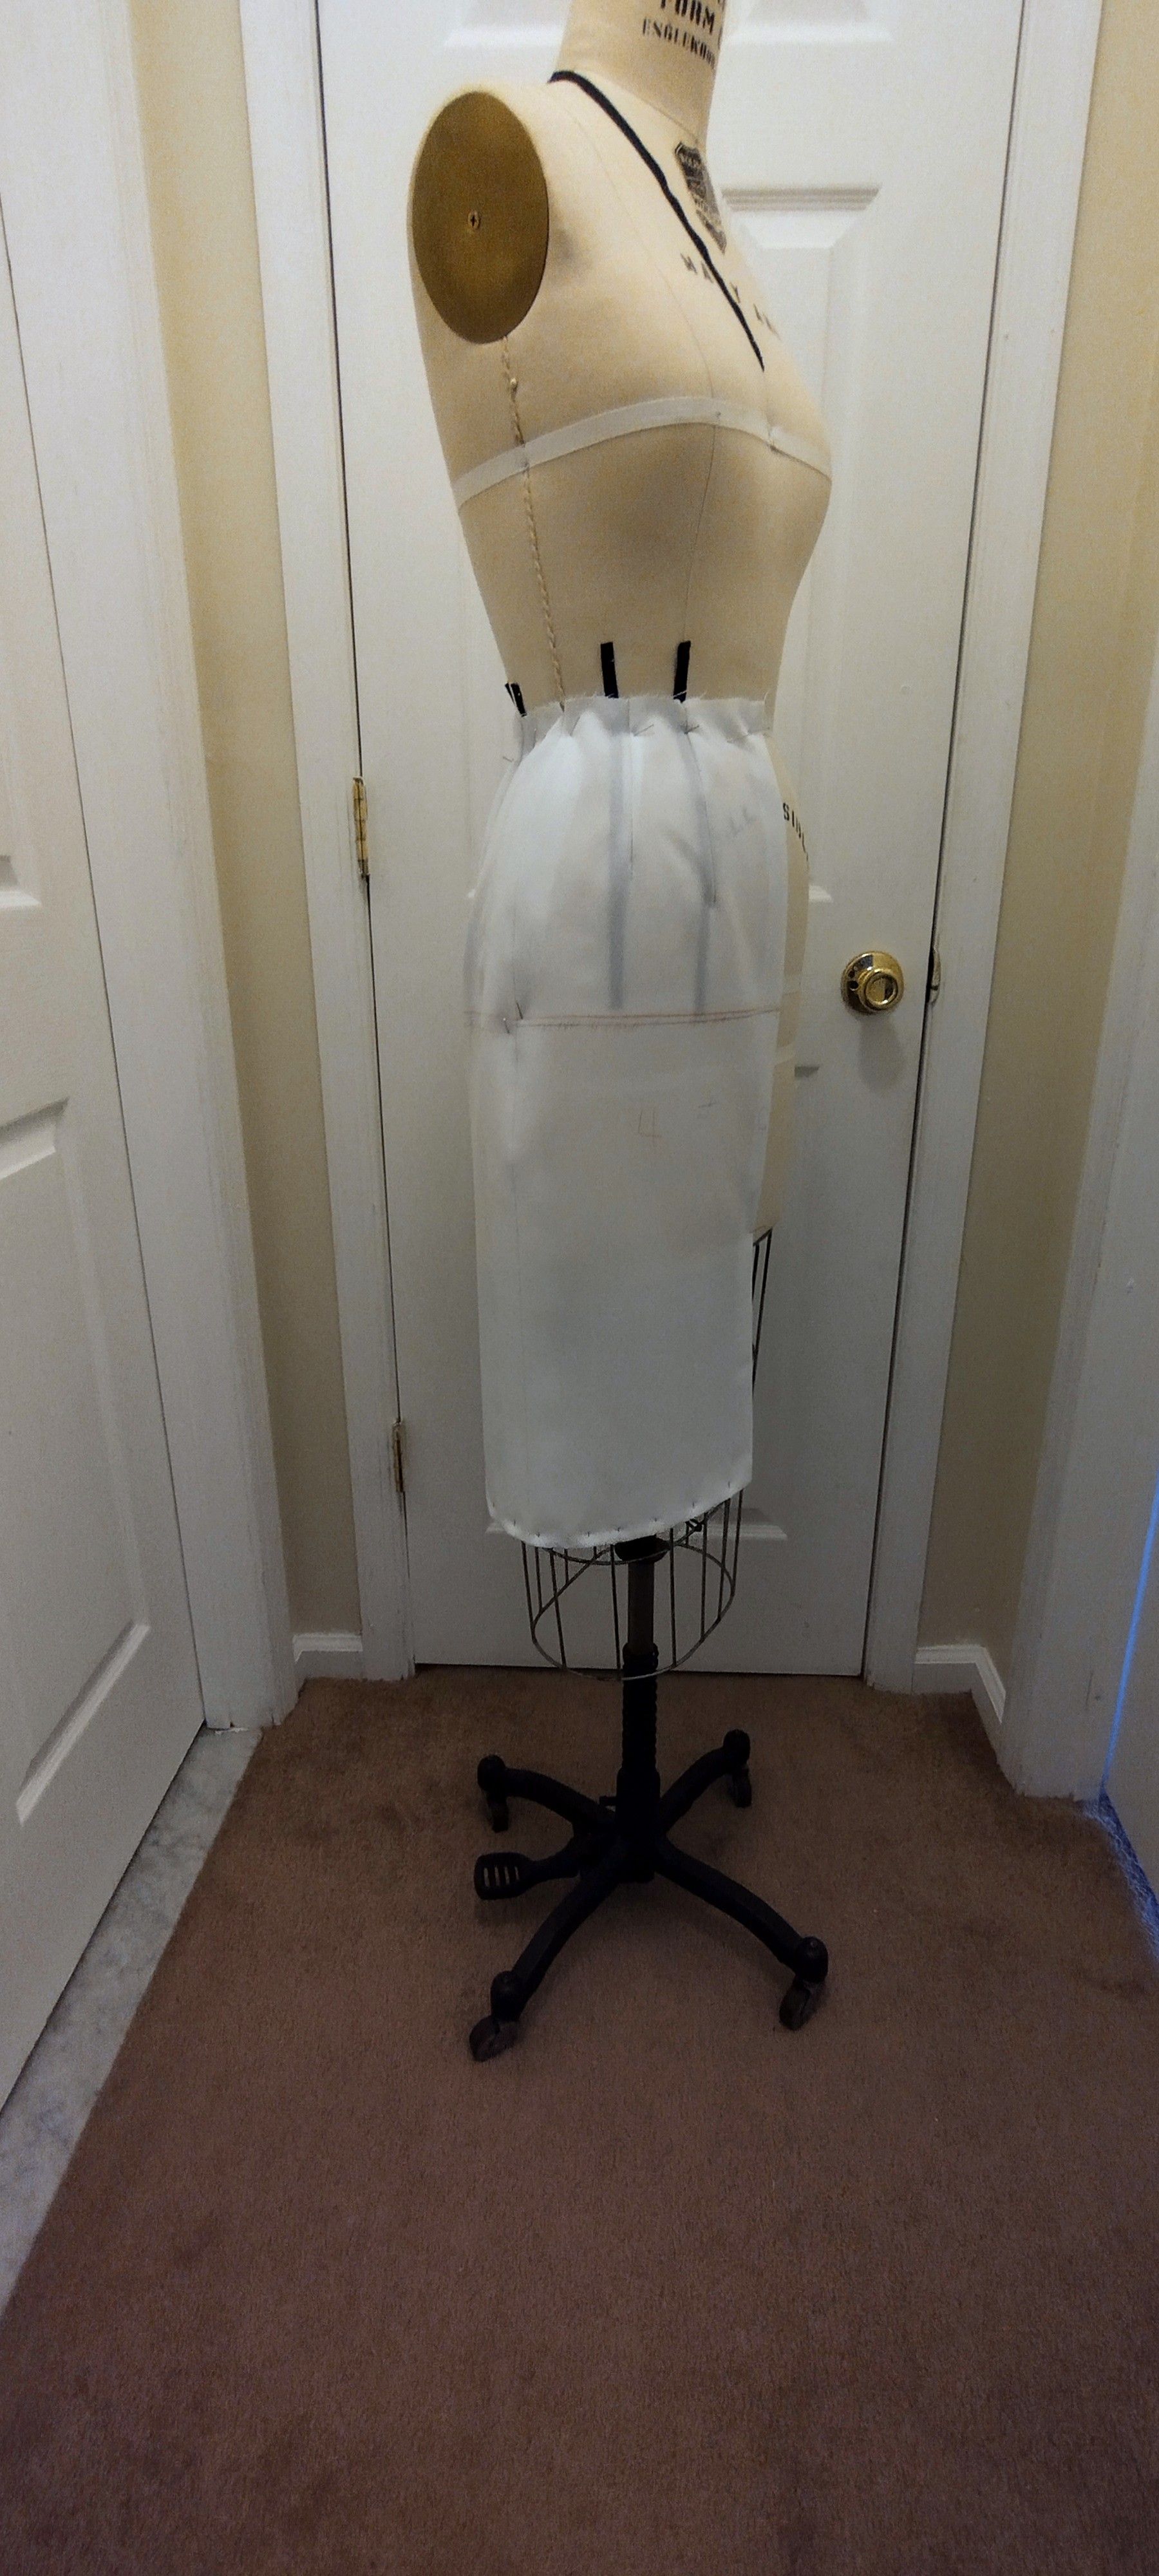
I offer these photos of the fitting shell for copying. You may reproduce and grade the pattern for your own use. Please test each time making a muslin toile.
Notes about using the Fitting Shell
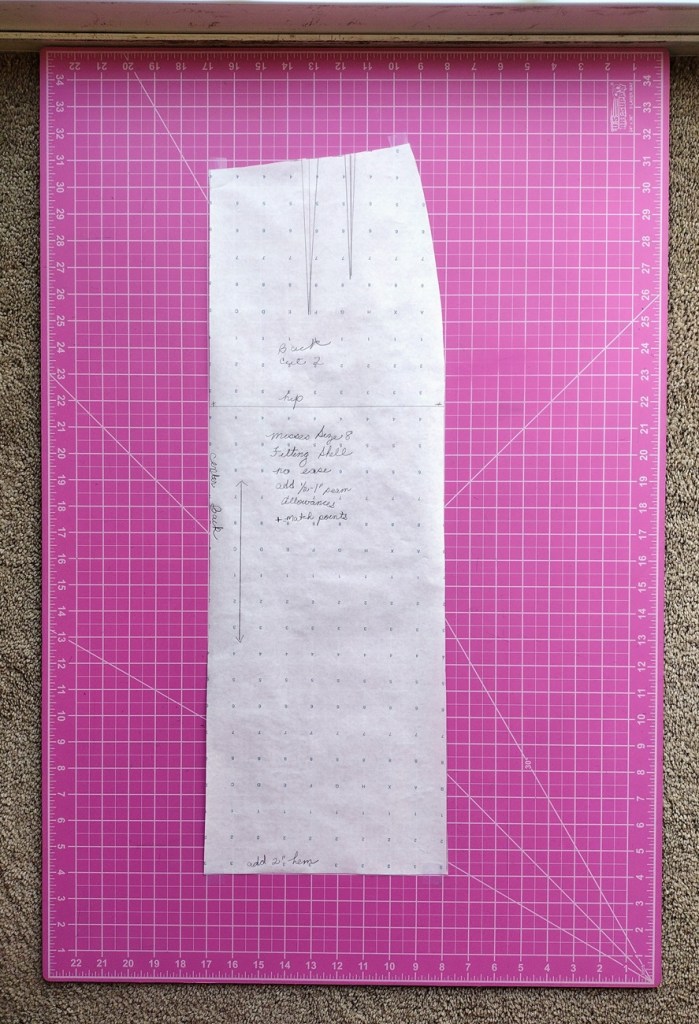
This fitting shell was created using the Standard Measurements for Misses Size 8,
–There is no style ease added.
–You need to add 1/2″ to 1″ seam allowances. Wider seam allowances make it easier to make adjustments if have to let out the seams.
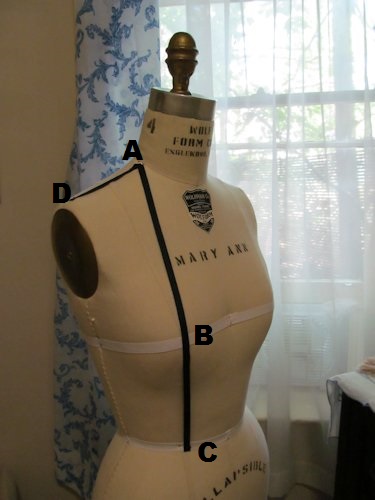
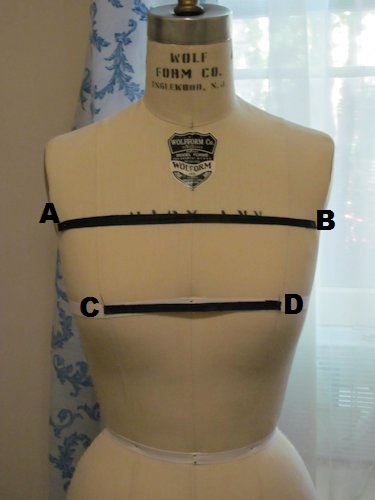
–Match points are marked with a “+”.
–To sew the sleeve: Use a double row of machine stitches all around the cap. When basting the cap to the armhole, match the “+” marks and the dot on the cap to the shoulder seam. Draw up the stitches and distribute ease around the cap then baste to the armhole.
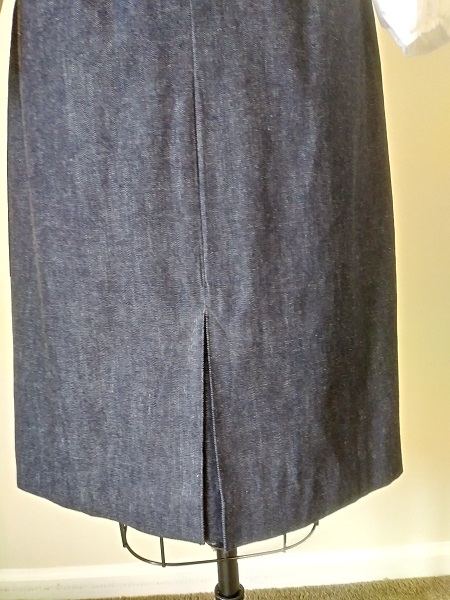
–The skirt length is 25-27″ for typical 1950s fashions. Add a two inch hem for the fitting shell.
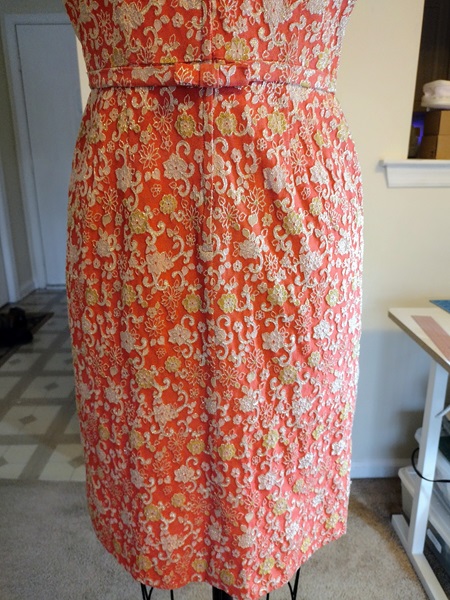
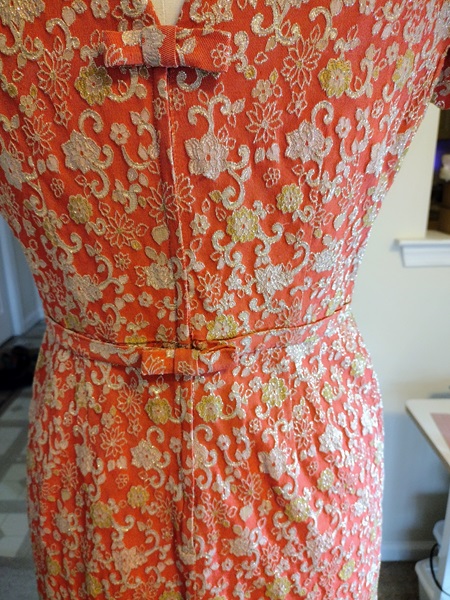
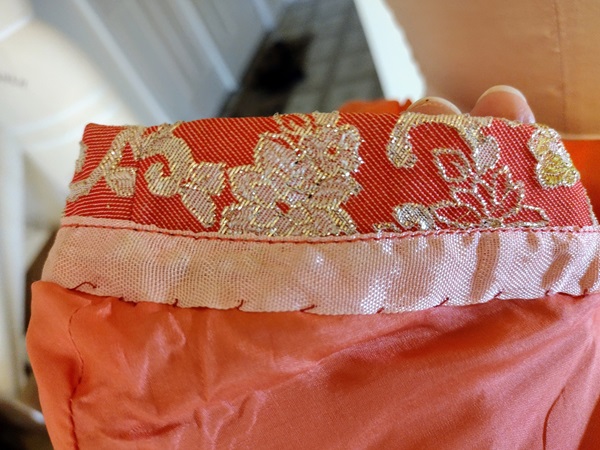
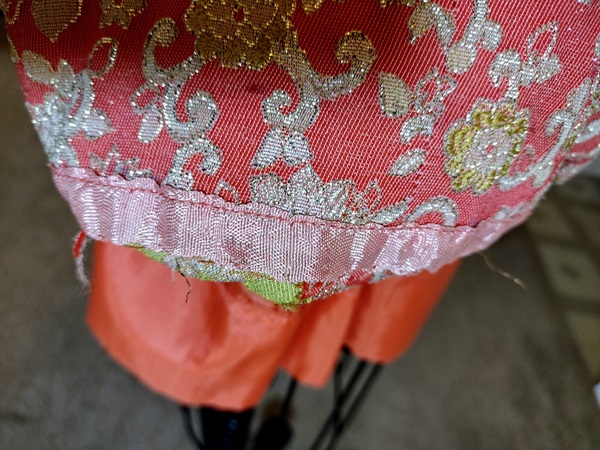
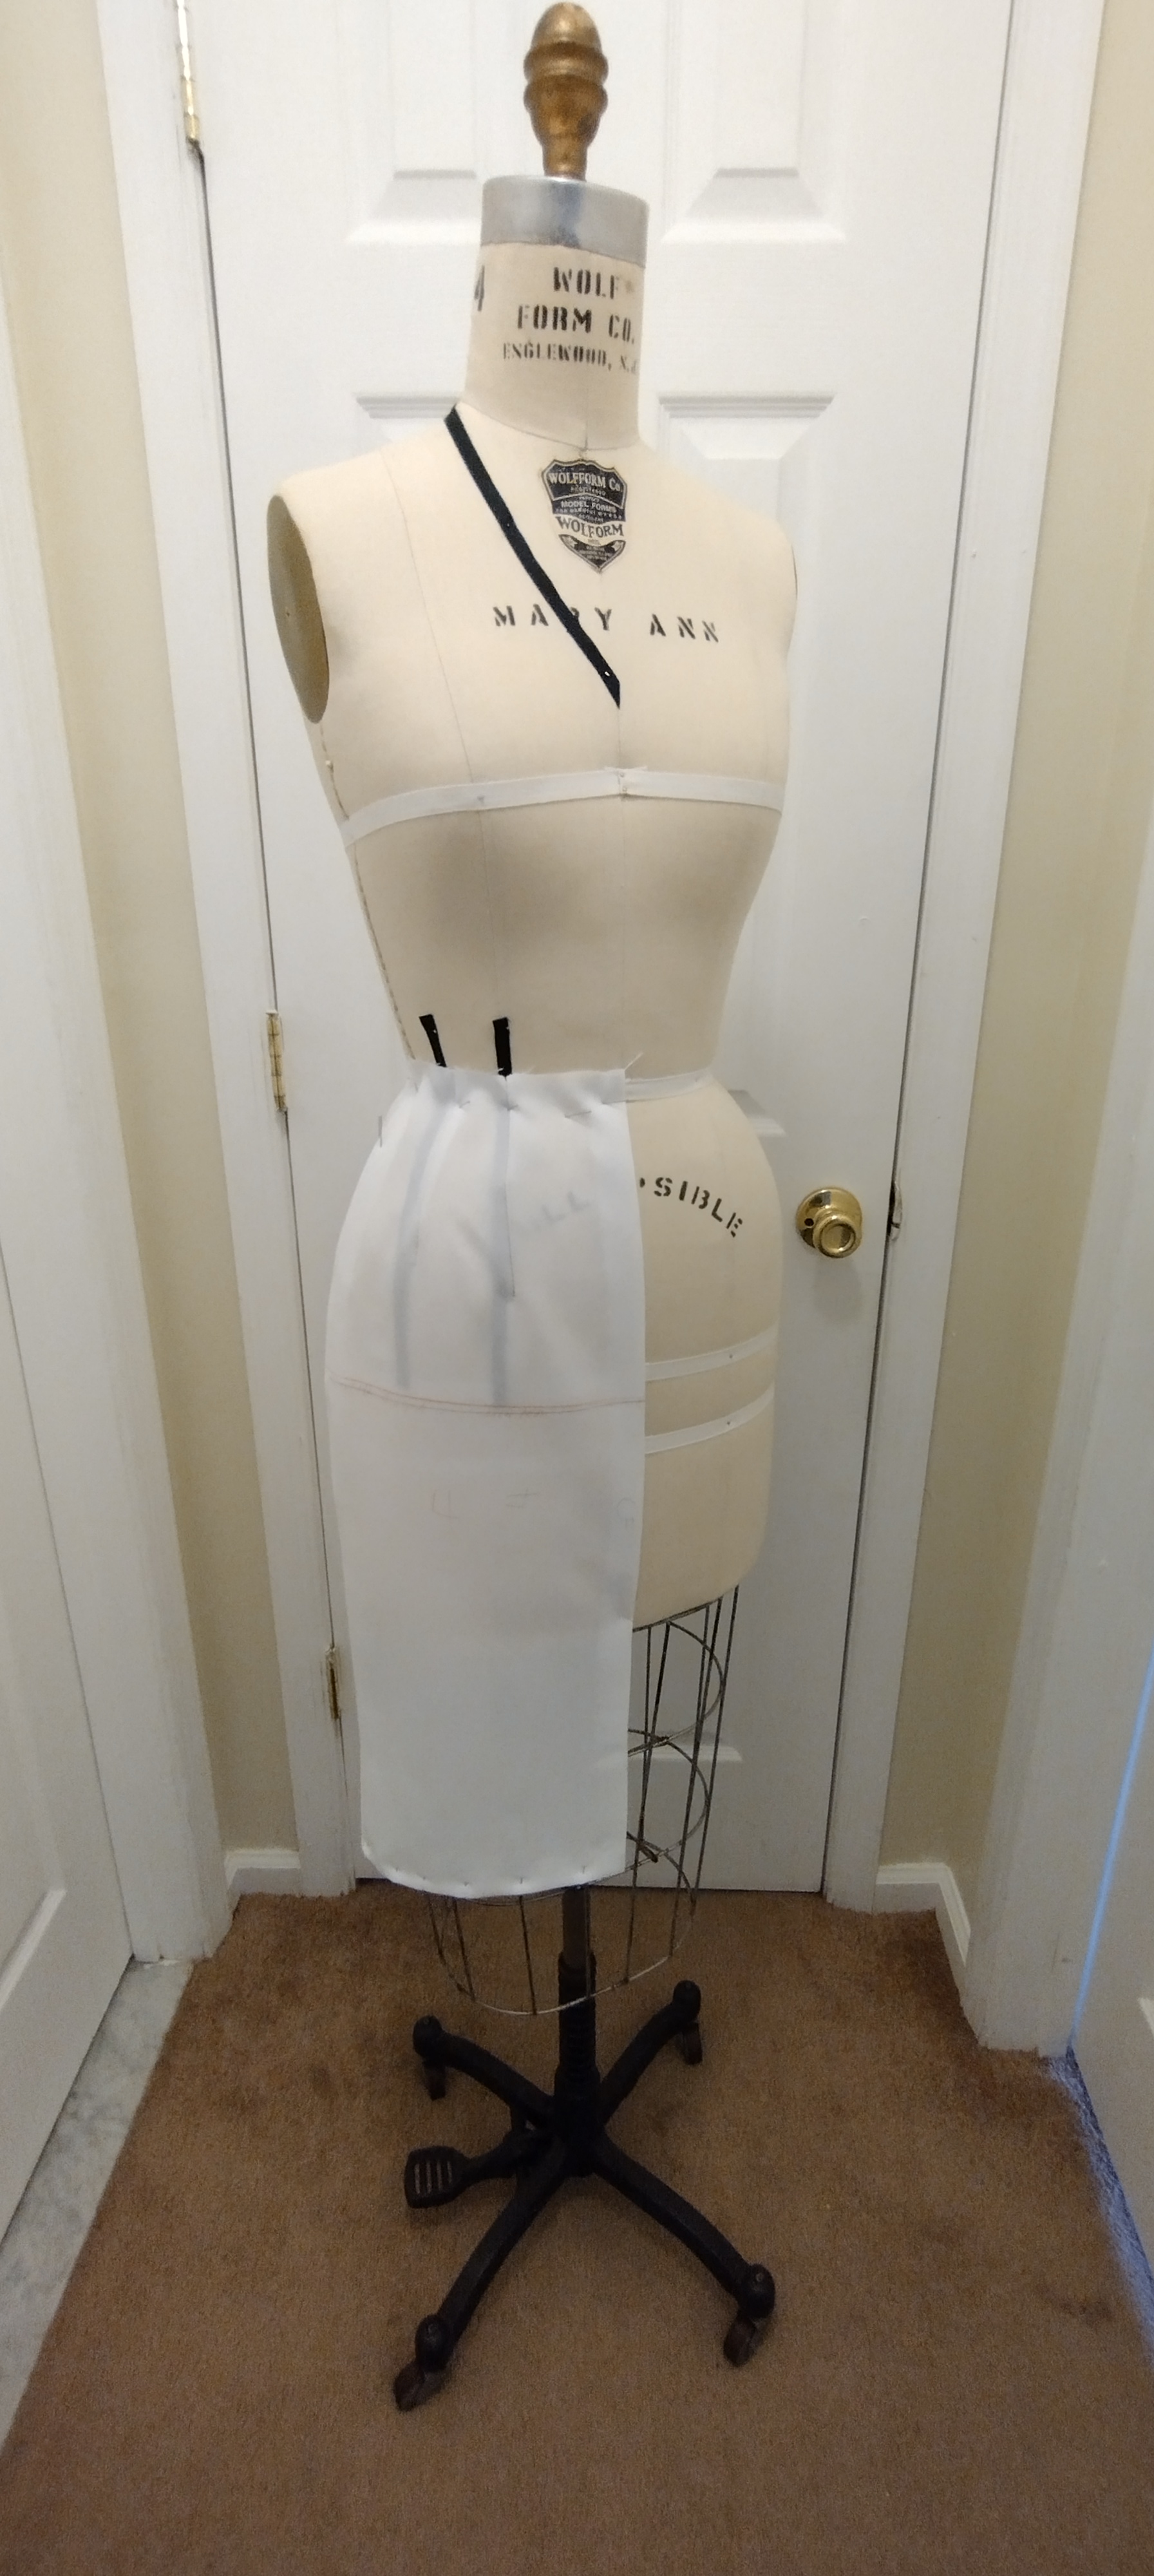
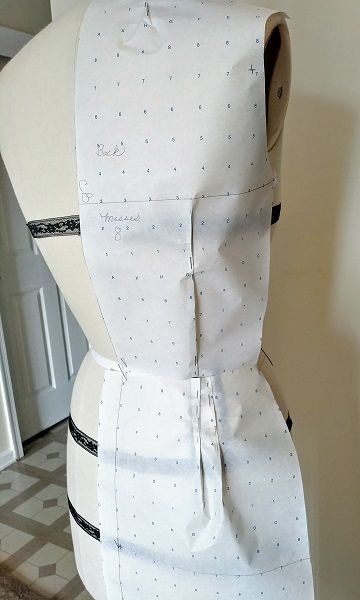
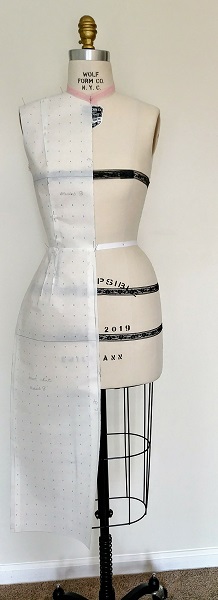
Photos of the Misses Size 8 Fitting Shell
Please Note: a few adjustments were made after these photos were taken. i did not make another fitting shell because the adjustments are minor. This was a working version, of the fitting shell which is why you see the pen marks on it.


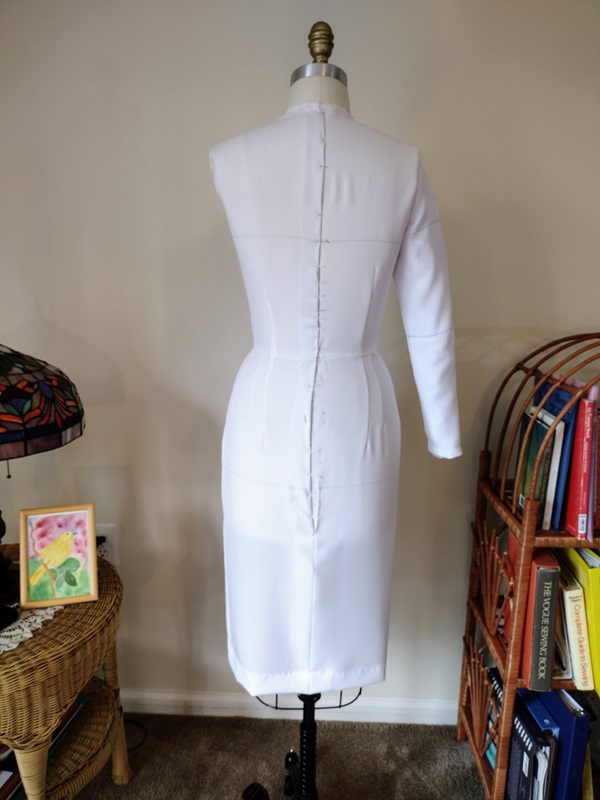
Misses Size 8 Fitting Shell
I release these photos into the commons. They may be copied, sized in your graphics program, graded and used for whatever purpose you choose.


You must be logged in to post a comment.