Introduction
I’m on vacation from work this week. I decided to stay home and immerse myself in all my beloved hobbies and activities. I have not gone clothes shopping at a bricks-and-mortar location since before Lockdown of Spring 2020. I decided it is about time that changed.
There is a lovely boutique on Wood Avenue in Linden, New jersey called New Image. All during Lockdown 2020 I would go for walks and look at the window arrangements of clothes and accessories. Everything is so pleasing and in good taste. Things worked out this week and the shop was open when I went out. I usually get off work after New Image closes for the day, so it took some time for me to get there.
Shopping Experience


The store is well laid out with accessories and shoes featured near the outfits they would complement. There is lots of room to move around and many mirrors. The overall feeling is boutique like yet personal. There is no crowding in the store.
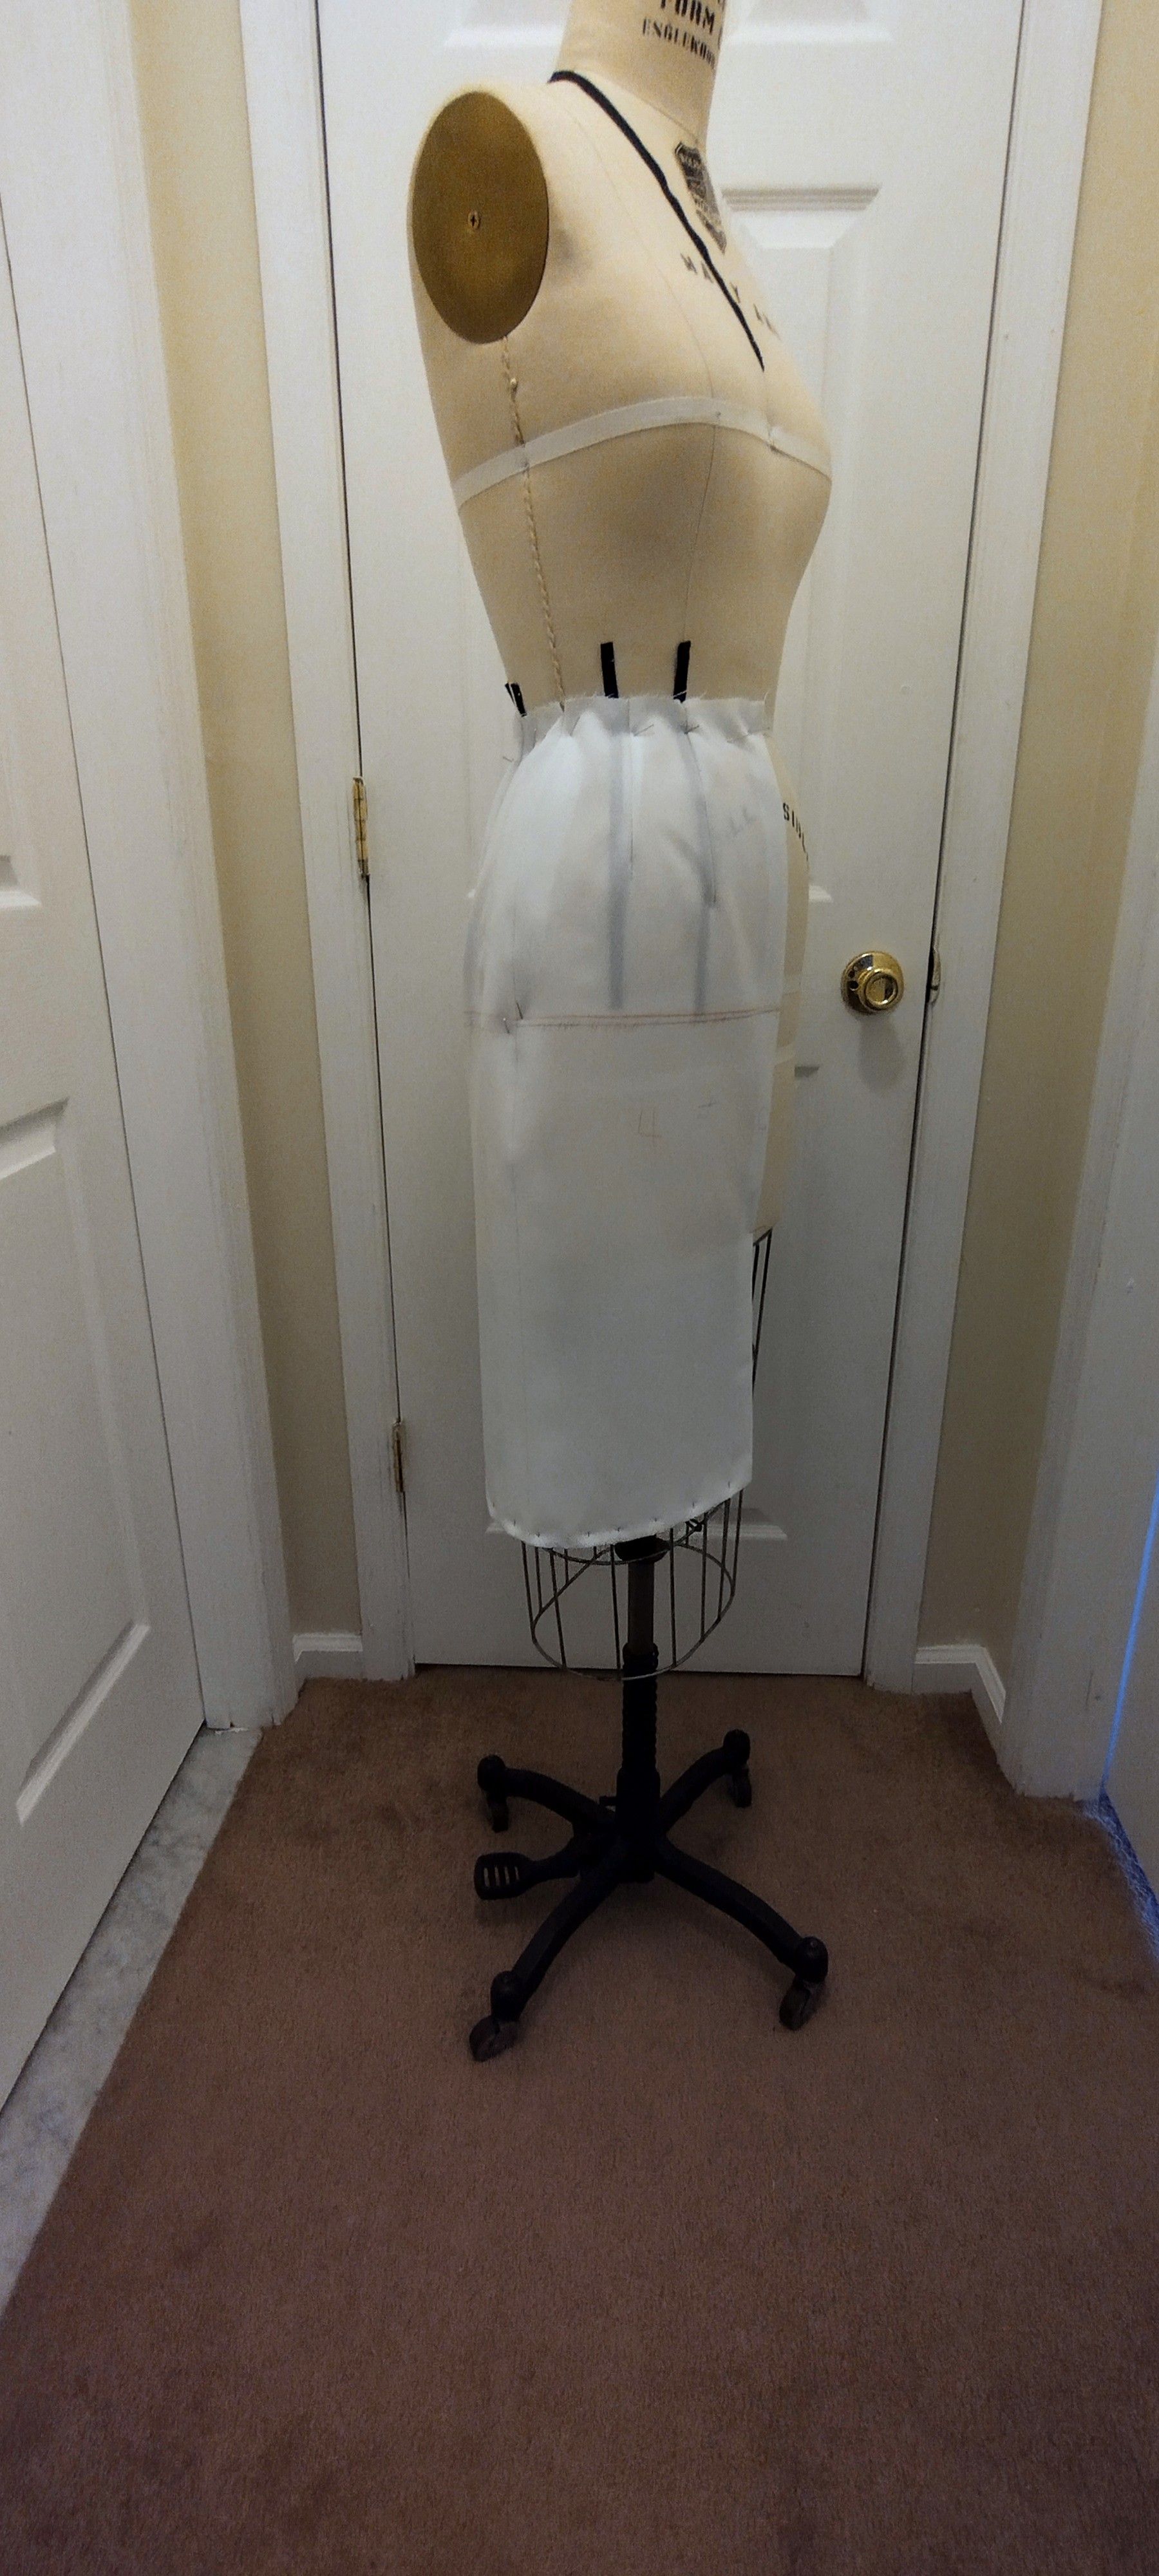
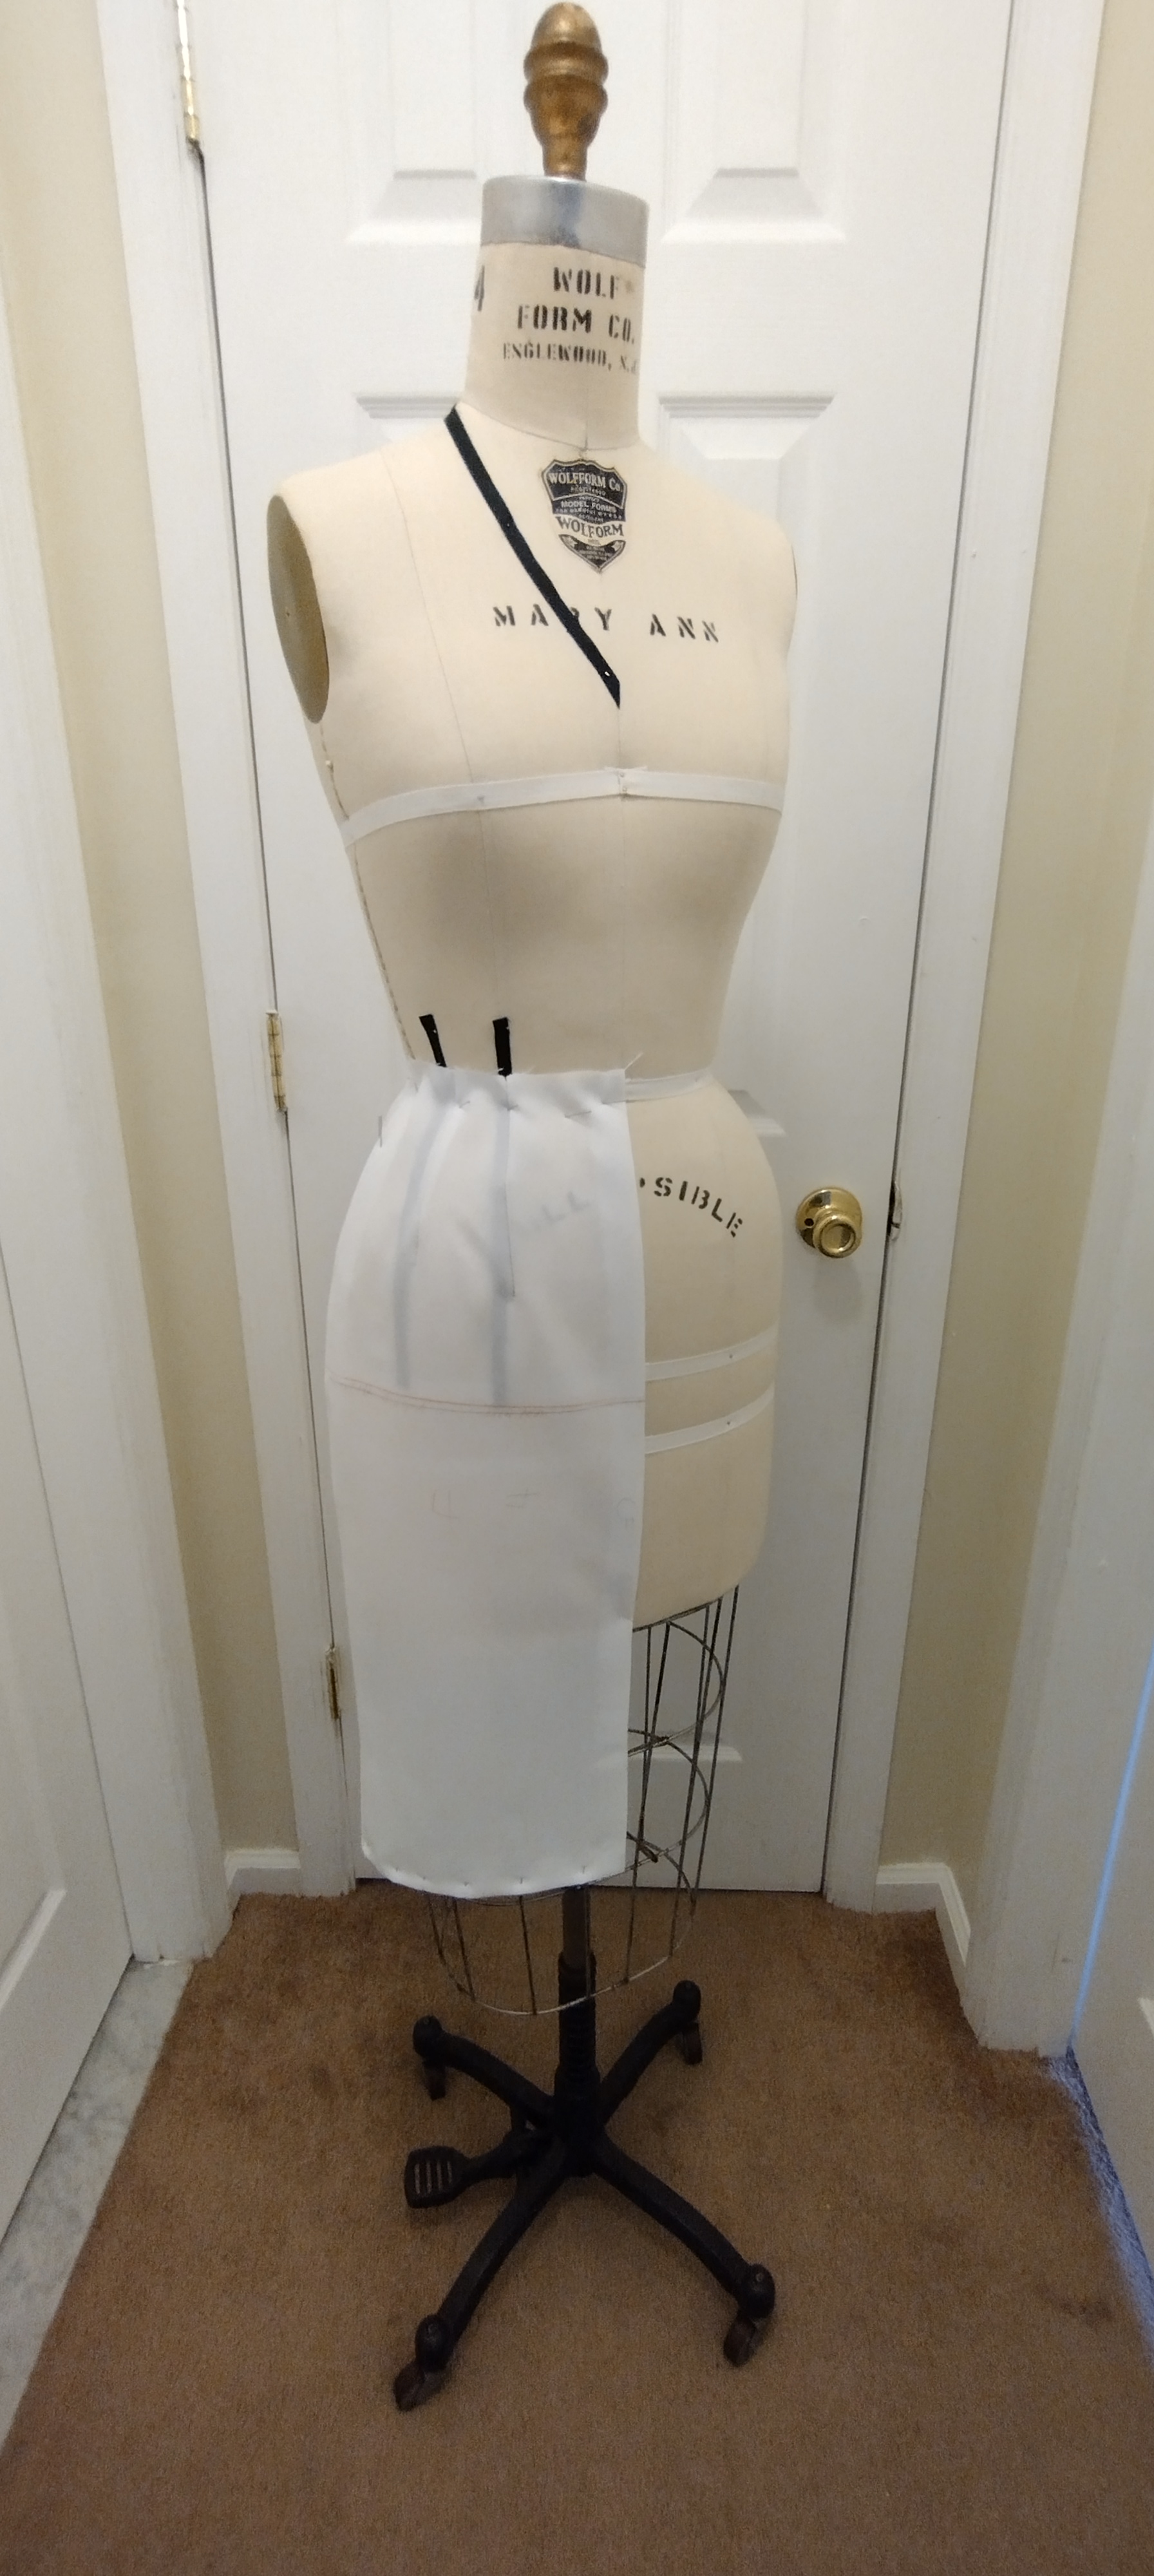
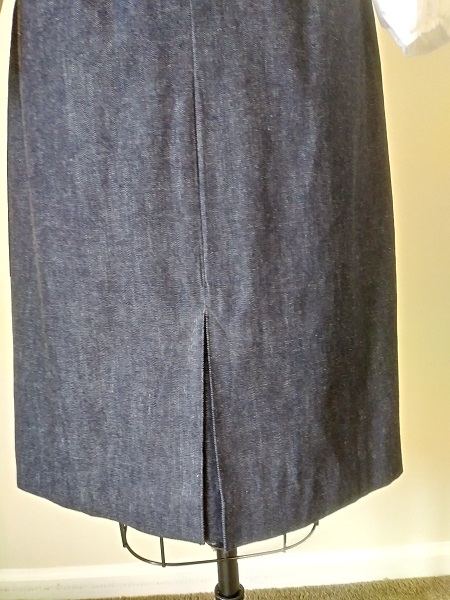
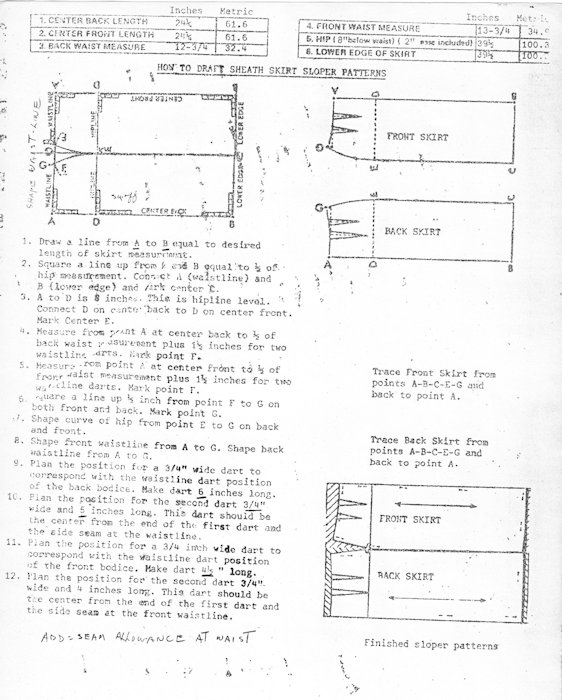
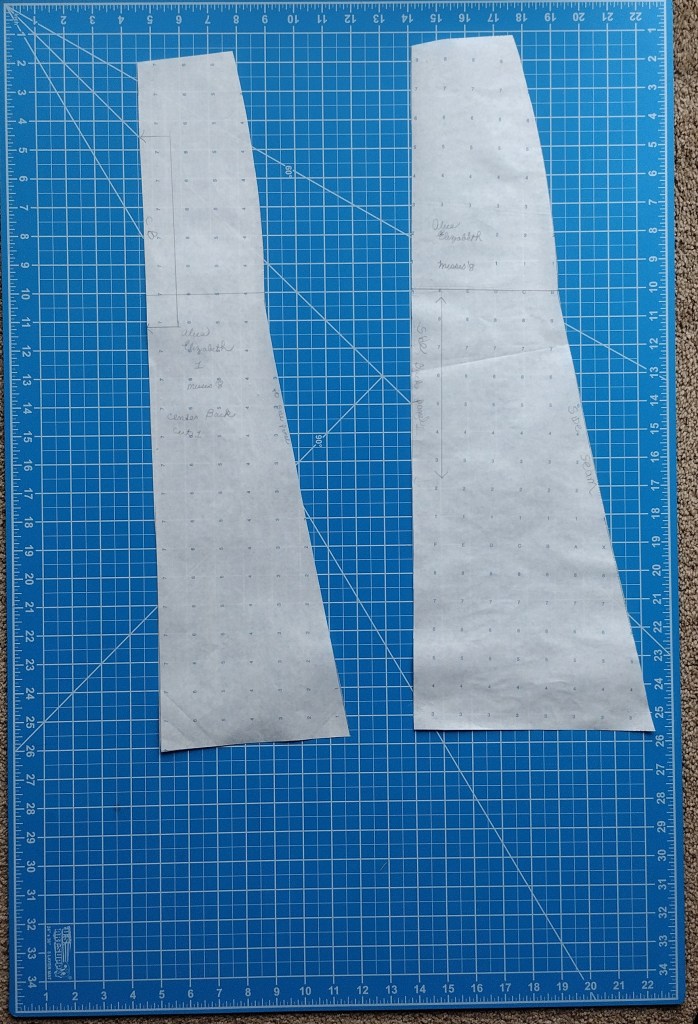
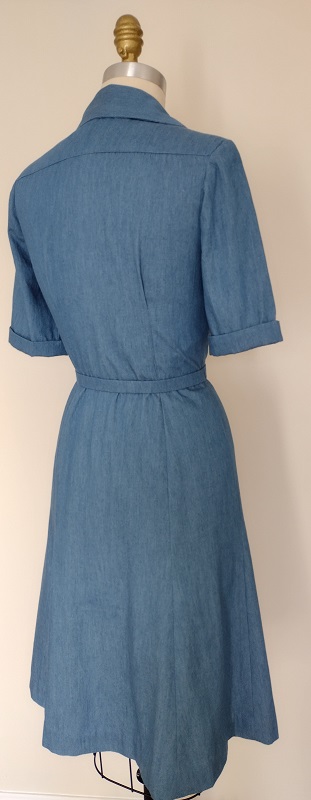
Merchandise cannot be returned so you have to make sure you try your selections on before buying. I found two tops on sale that came to a total of $25. They are perfect for dressing up the denim skirt I draped and sewed during Lockdown of 2020.
New Image Boutique is located at 116 N. Wood Avenue, Linden, New Jersey 07036. Telephone 973-803-6242.
My New Pullover Tops from New Image

This stiped top is from Orange Kiss. It is stretchy and comfortable. It is a size M and fits me just right with a little extra room to move in. I usually wear a Medium in stretch tops.

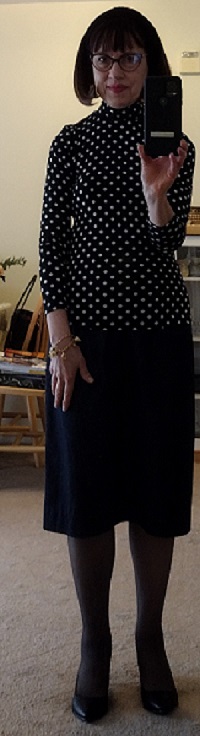
The polka dot top is from dianabelleNY and is labelled a size S. It fits me very well without being tight around the body or binding at the neck.
These are perfect for dressing up my denim skirt.
Accessories, Shoes and Stockings/Pantyhose

There are times I do not find my bare legs attractive with an outfit. The matter of choosing to wear stockings or pantyhose depends on personal preferences and the climate. During the summer I do not wear them but at other times of the year I think they look very sexy. They also hide bruises and imperfections. Dark stockings also add a youthful look.
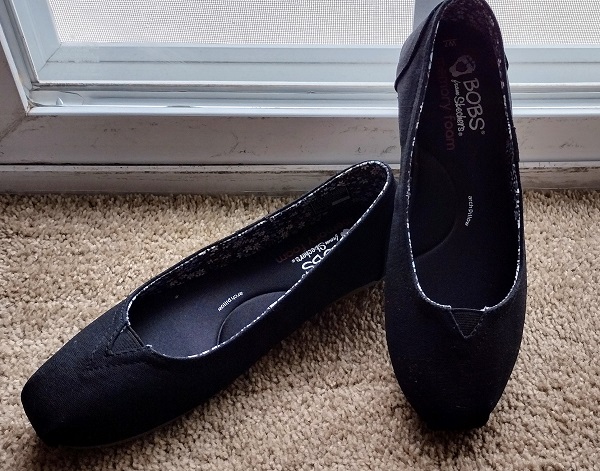

The shoes I paired with these two looks are: 1. a pair of fabric square toed ballet flats from Bob’s Skeecher’s and 2. a pair of black pumps by Jaklyn Smith.

My late Mom left me her costume jewelry and collectibles which I treasure. The three gold tone charm bracelets were sold by Avon during the 1980s or early 1990s. I paired the hearts charm bracelet with the we’re in the money charm bracelet since I liked the idea of mixing up love (hearts) with symbols of wealth like diamond rings, yachts and gold bars.
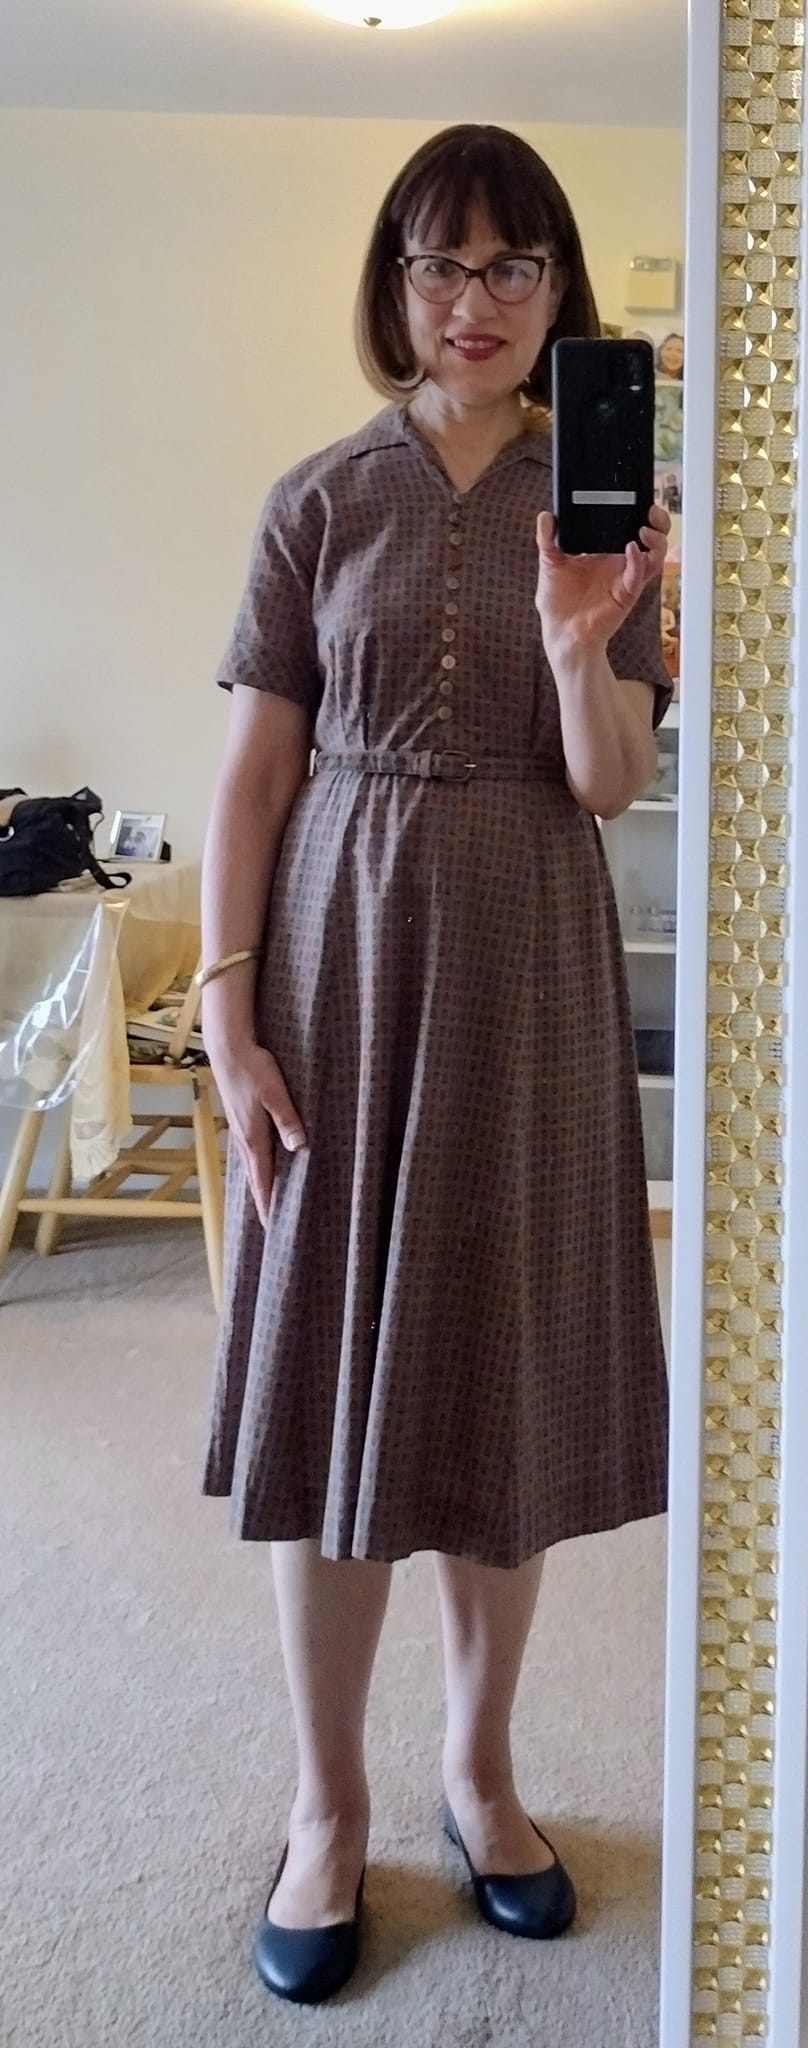
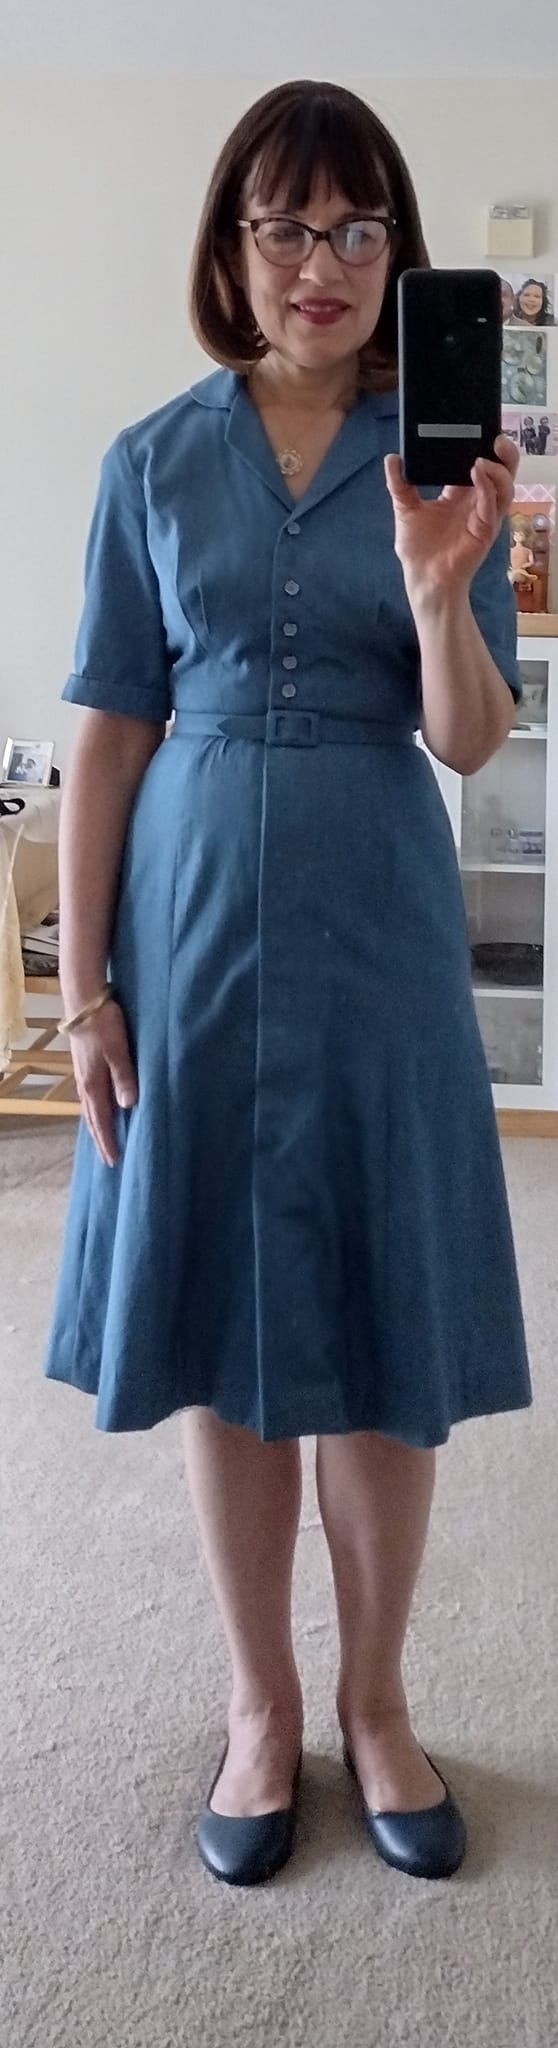
My Finished Looks
I am very happy with the resulting looks and hope this gives you some ideas for styling your own denim skirts.


You must be logged in to post a comment.