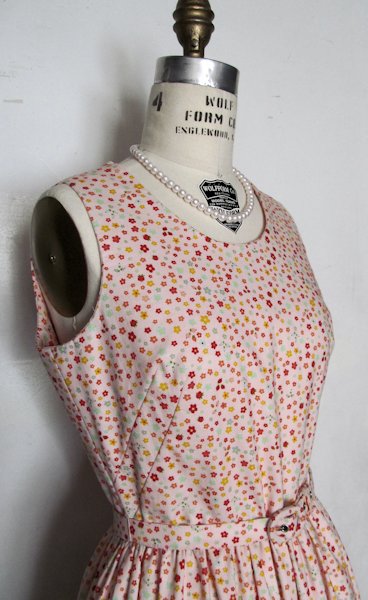
Introduction

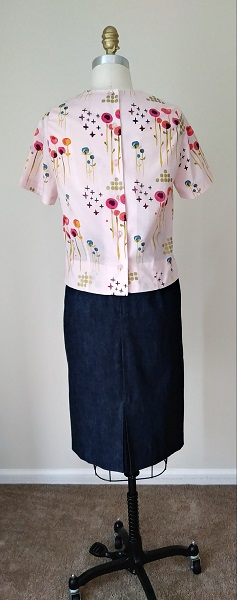
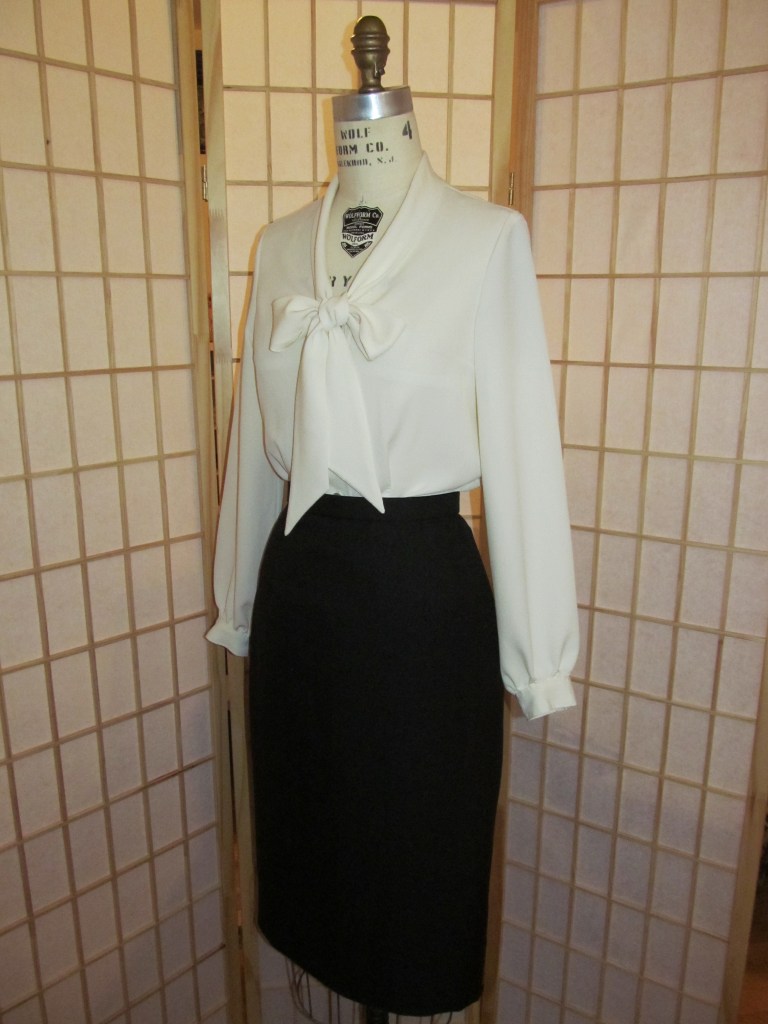
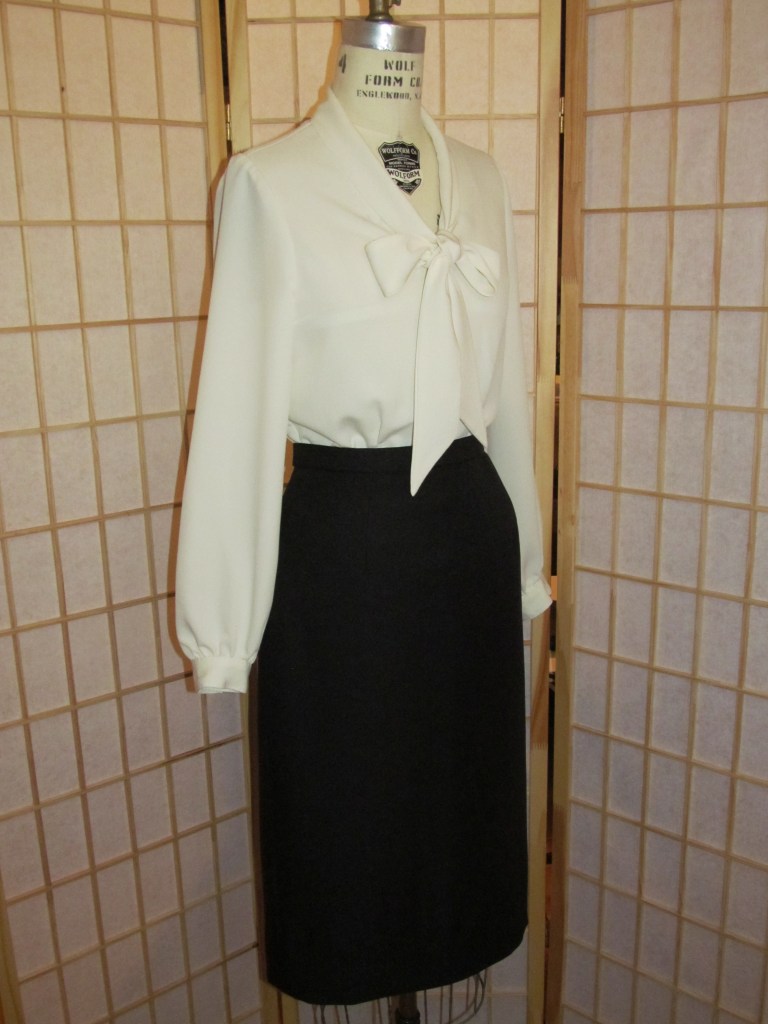
I purchased an early 1960s blouse by the Tropicana company during the furlough from my job due to COVID-19 this past Spring. The blouse provided a fun challenge to me during those days at home. I decided to renew my skills in draping and recreate as much as possible the blouse. As happens, the blouse was not enough. I decided to make a denim skirt to go with the Tropicana blouse and my own version of it.
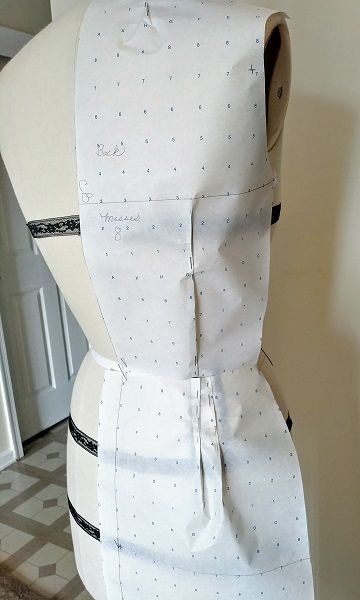
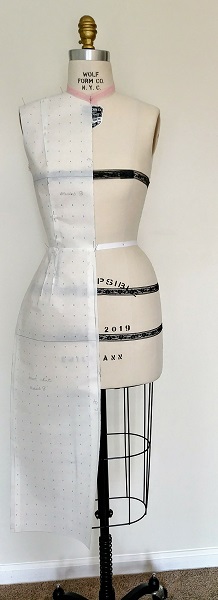
My recreation was draped on a Standard Misses size 8 form. The resulting pattern was then altered to address my own fitting needs.
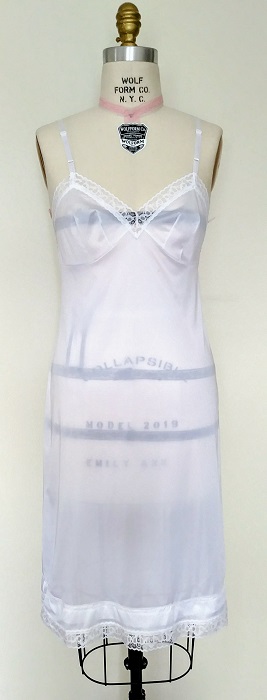
The original Tropicana blouse has slits that open from below the waistline.. The skirt and blouse are worn over a white full-slip. The slip provides an extra layer under the lightweight fabric of the blouse. Without a slip or cami, one’s bra will be visible.
The original skirt was altered from a Misses 8 to fit my skirt size which is between a Misses 8 and Misses 10. I have pinned it to better fit the form.
I do not pose for photos in my finished garments. The reason is to keep attention on how I created the look. I want any reader to review my content and consider if these same style elements can be applied to creating a similar style expression for themself.
Comparison: Vintage Original and My Reproduction


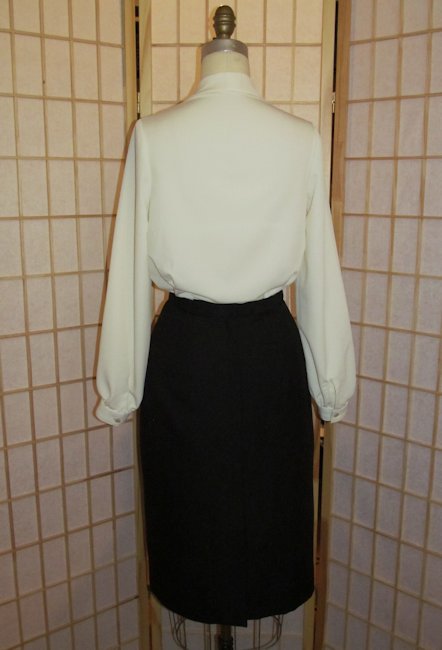
An unusual detail of the original blouse are the buttonholes at the back. The first buttonhole is horizontal, the rest are vertical. I duplicated this in my reproduction. The reason the first buttonhole is horizontal may be to ensure this stress point remains closed. The neckline of the original is quite close to the neck. I scooped my version a little more to make the blouse more comfortable. Perhaps the vintage blouse was meant to be worn with a short string of pearls or a necklace on a short chain. I opted for comfort.
Finishing Details
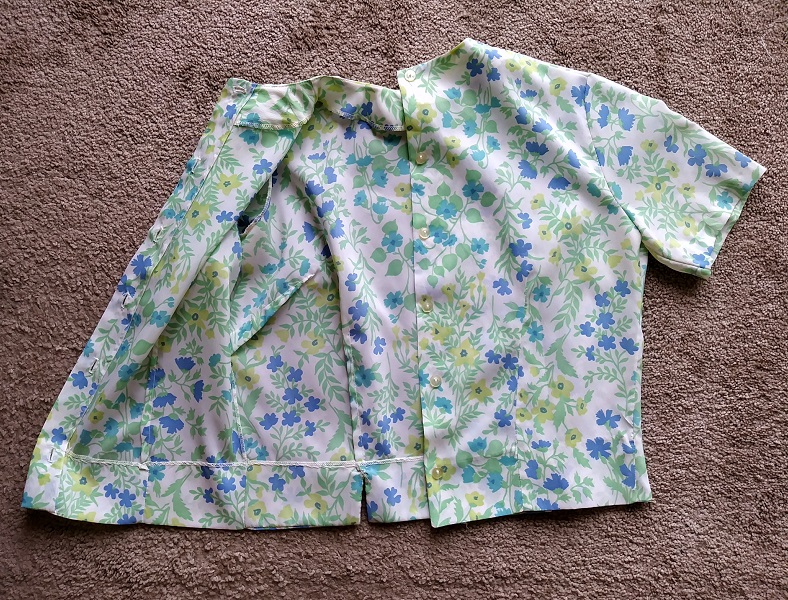
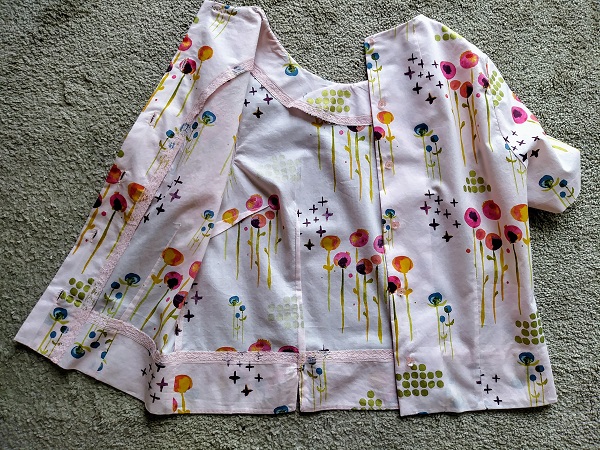


A narrow merrow-type of stitching finished the edges of the hem, seams and facing. I got fancy with my version of the blouse. I used a pink flexi-lace to finish the hems and facing of the blouse. Seams were straight stitched, then zig-zagged together and pressed towards the back.
Little Details


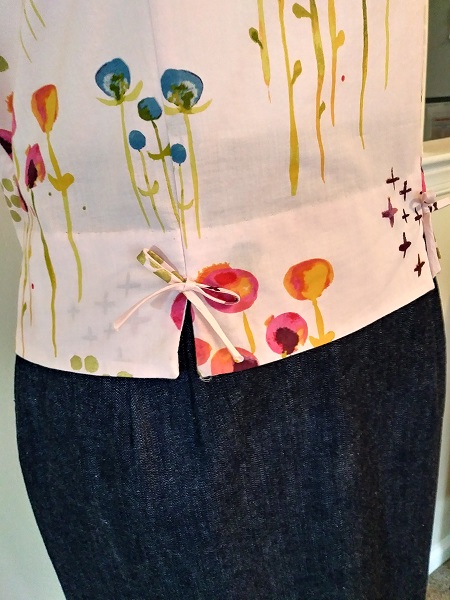
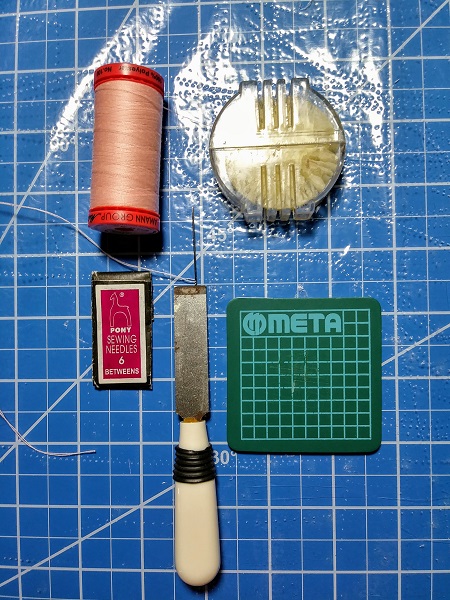
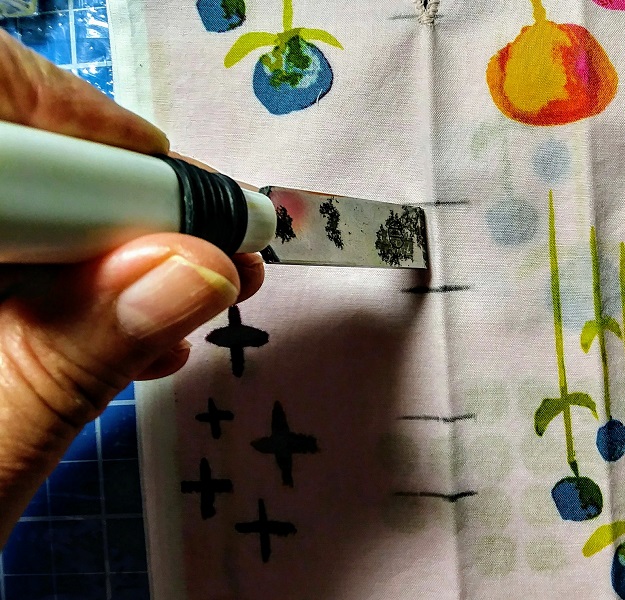
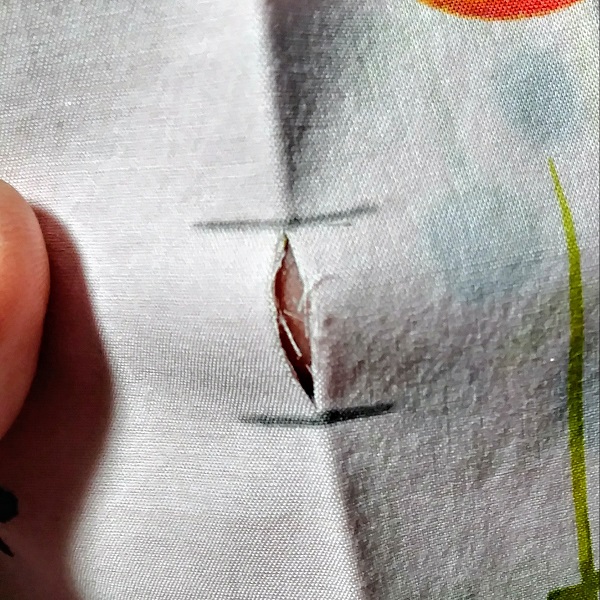
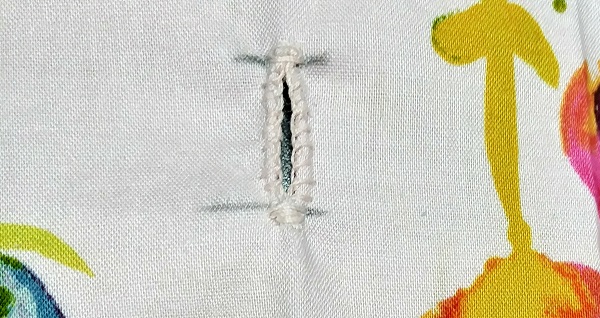
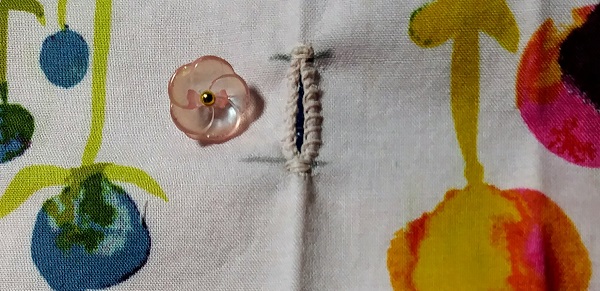
The original and my reproduction have a vertical tuck that ends 1″ below the apex of the bust and about 2″ up from the hem. At the 2″ mark the tuck ends and the slit begins. A bias cut strip of fabric is sewn, turned right side out and hand sewn above the opening of the slit. It is them tied into a bow.
A side bust dart, about 2″ down from the armhole, provides slight shaping in the original. My reproduction goes straight down from that point.
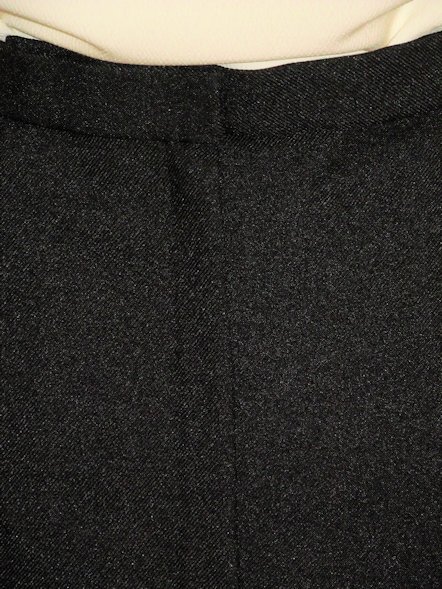
Skirt Details


The skirt is a medium weight denim by Kauffman. I made a kickpleat for the back and draped for a relaxed fit. The denim shreds so seams were finished by straight stitching 1/4 ” in from the edge and then pinking. The hem and edges of the kickpleat were finished with navy blue flexi-lace hem tape. The kickpleat is held in place by small inverted “v” shaped stitching at the beginning of the pleat.
Jewelry and Shoes

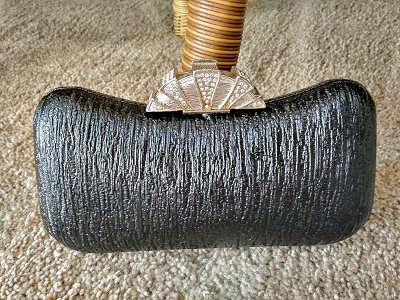
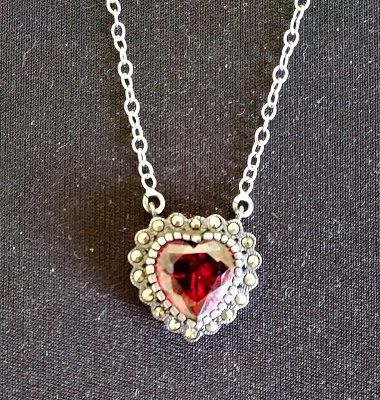
Spring into Summer gets humid here in the Tri-State area (NY-NJ-CT) so keeping things simple with jewelry and accessories is important. I chose to work with gold jewelry since there are golden circles that are part of the pattern on the blouse fabric. The tiny heart charm has a diamond chip at the center of an 8 pointed star. The pattern of the blouse does not necessitate a necklace but I’d wear one anyway. The golden bangle was my Moms and my Grandmother wore hoop earrings similar to the ones I chose to complete the look.

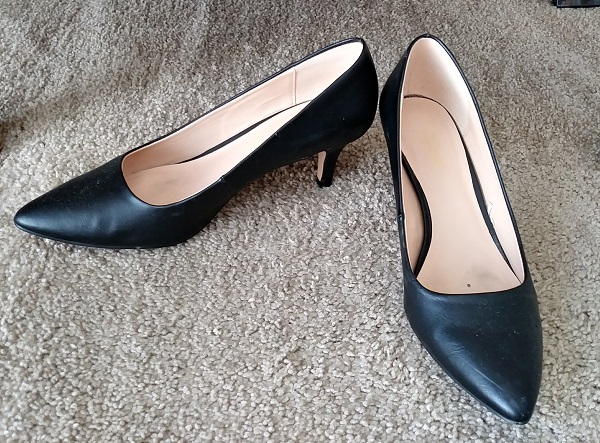
Beige sling back shoes help the leg look longer since the eye is drawn upward. The bonus is that these shoes are also one of my choices for the denim chambray dress I intend to make as my next project after completing the basic fitting toile in progress now.


You must be logged in to post a comment.