Introduction
I am making a series of slopers based on basic patterns created in the 1930s by Margaret C. Ralston. Her drafting system and pattern transformations were published in a book entitled Dress Cutting.
I am using the pattern drafting system that was taught at the French Fashion Academy. I find this system more suited to making retro inspired clothing., rather than using a vintage pattern drafting system. This route saves me time and makes the process more enjoyable. Ralston’s instructions sometimes make no sense to me. For example the sleeve seam is 3/4″ to the front of the bodice, meaning the sleeve seam will not match the side seam of the bodice. In the instructions for transforming a skirt pattern, she writes that sometimes a skirt side seam can be moved towards the back. I am sure this all made sense to her students and target audience at the time. However, I am not sure of how the results will look now and I do not have the time to go into that kind of nitty gritty effort to be authentic. So long as I can create a pattern and garment with a feeling and a little touch from a selected time period I’m quite satisfied. My goal is always to create a little bit of the look of retro combined with ease and movement of modern clothing.
The patterns for the 1930s sloper are drafted using the measurements for a Standard Misses Size 4. My vision is to create the building blocks of 1930s inspired styles that will look flattering on a smaller range of sizes. When completed the slopers will be put up at my blog. They can be best graded down to Misses sizes 0 -2 and upward to Misses sizes 6-8.
Three inches of ease at the hips and 1 1/2 inches of ease at the waist was added to the basic straight skirt drafted as the basis for this flared skirt.
Creating the flared skirt pattern and fitting toile


Cover of Dress Cutting (left) and pattern diagram for basic flared skirt. Notice how the flares begin at the hipline with overlapping of the pattern from waist to hip.
On the straight skirt pattern, the first dart by the side seam was closed halfway to give the skirt more ease and add a slight flare. The remainder of that dart was taken off from hip to waist.
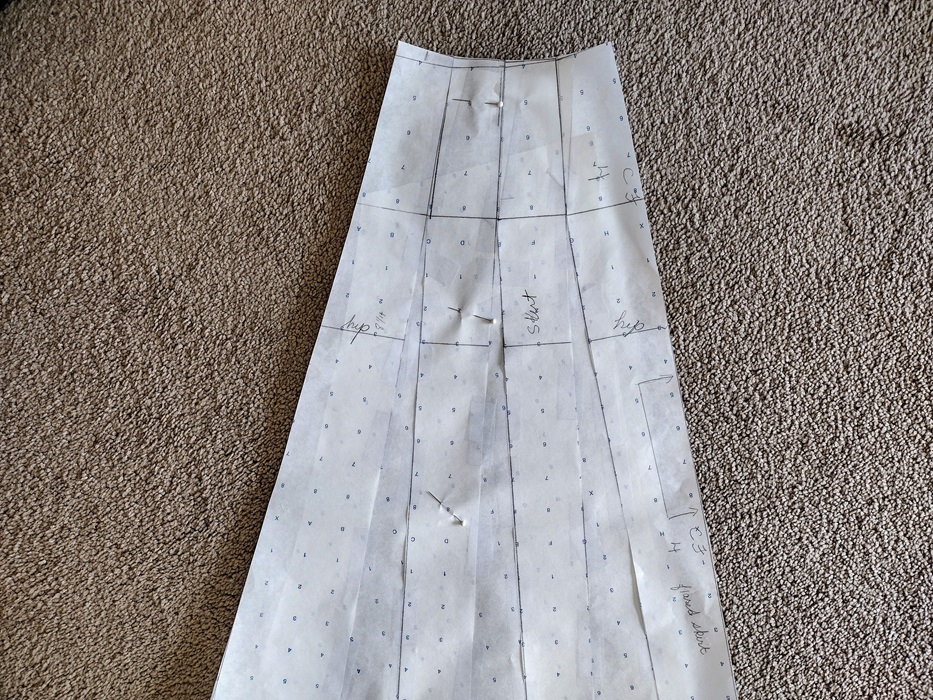
Front of flared skirt pattern.
To create the flares the dart intake closer to center front was divided in half. I then drew two new darts equidisant with each having half of the intake. Then I added another slash line. The darts were closed and the third slash line opened. This reduced how high the flares would form. I repeated the same steps for the back skirt pattern.

Fitting toile of flared skirt.
As you can see from the fitting toile this is a very softly flared skirt. The flares begin below the abdomen and the sides fall straight. It feels true to the spirit of the 1930s when dresses were soft and there was lots of flare and movement created by insets, godets and the way in which the grain was used for a blouse, skirt or dress.
As of the date of this posting the skirt has been pinned to the form or 48 hours. I take this step to let the grain settle prior to marking and then putting up the hem. Sometimes I leave it hanging 72 hours. I highly recommend taking this step. Your finished toile will then reflect the way the flares look when hemmed. You will also know if you lose any length due to the way the grain settles. This skirt when finished and hemmed should have a center front length of 27-29 inches, in keeping with the longer skirt lengths of the 1930s.

You must be logged in to post a comment.